This tutorial will walk you every step of the way through the process of taking screenshots of your Android phone.
- Start out by downloading and installing the drivers for your Android phone.
- On your Android phone, select Settings.


- Then select Applications -> Development -> and enable USB debugging by placing a check in the box next to it.
- Now you’ll need to download the Android SDK from http://code.google.com/android/download.html. Select the Windows version, and save the file. It’s not a huge file, but it’s not small either. Depending on your Internet connection speed, it might take a while to download.
- Once the download has completed, unzip the file to somewhere on your hard drive that you’ll remember. Your C:\Program Files\ folder is one good place, but anywhere will do.
- Now you’ll need to download the JDK (Java Developers Kit) from http://java.sun.com/javase/downloads/. Don’t be confused by the number of different files that are available to download on that page – the one you’ll need is Java SE Development Kit (JDK). Again, the download can take a while.
- Once completed, run the JDK installation. Click Next all the way through until you’re done (the installation is very straight forward).
- Now plug in your Android Phone, if it isn’t already.
- Locate the folder you unzipped the Android SDK in (step #5 above), open the Tools folder and double-click ddms.bat (it might be titled just ddms if you don’t show extensions).
- The first time (but not subsequent times) you open the Android SDK DDMS, you’ll be prompted with a window (see screenshot below) asking if you’re willing to send usage statistics to Google. Review the Google Privacy Policy if you’re unsure if you want to enable or disable this feature. Click the Proceed button to finish opening DDMS.
- The Dalvik Debug Monitor will open. Make sure your device is listed in the upper-left window, and select it by clicking on it once.
- To take a screenshot, select Device > Screen capture …
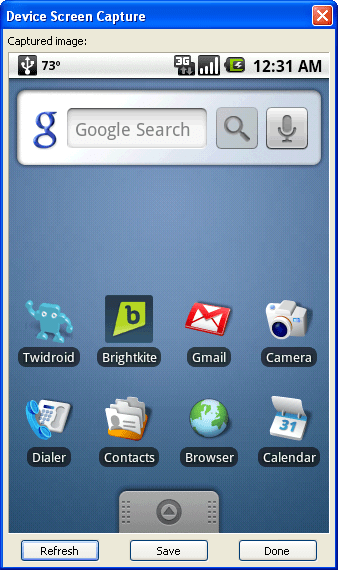
- The Device Screen Capture window will open, and display whatever is being displayed on your Android phone.
- On your phone, navigate to the screen you want to capture.
- Back in the Device Screen Capture window, click the Refresh button.
- The screen you want to capture (again, the one you navigated to on your Android phone) should appear. Click the Save button.
- Choose a name for your screenshot, then select a location to save the file. Click the Save button.
- Repeat steps 14 – 17 to take more screenshots.
- That’s it!