This very brief tutorial will show you how to export Keynote presentation files from your iPad to your Mac or PC.
This guide assumes you already have Keynote installed on your iPad (iPhone or iPod Touch). If you don’t, tap here to install it from the App Store.
Once upon a time (back in 2010) this was a bit more complicated. Now it’s super easy to export presentations from Keynote on your iPad to your computer – just follow these steps:
- With the presentation you want to export open in Keynote, tap the “More” button (the one that looks like a circle with 3 dots inside of it – see the screenshot below).
- Select Export from the list of options in the More menu.
- From here you’ll need to choose which format you want to export your Keynote presentation to. If you select PowerPoint you’ll be able to edit it in Microsoft Powerpoint on a PC, if you select Keynote Theme you’ll be able to edit it in Keynote for macOS. You can always export it to multiple formats too.
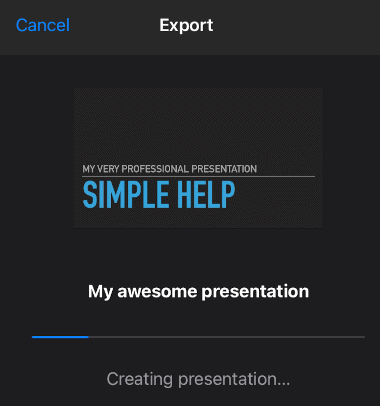
- Once you’ve made your selection, Keynote will create the presentation. It shouldn’t take very long, but if it’s a very large slideshow it might take a minute or two.
- Once the file has been created, Keynote will launch the “share” wizard. If you want to send your presentation to a nearby Mac, Air Drop is the way to go. If you want to send it to a PC or Mac that isn’t on your network, the easiest option is to just email the file to yourself.
- Send the file to an address you can access on the other computer (Gmail perhaps?) and then download it that way.
- That’s it – you’re all done!