This tutorial will take you every step of the way through installing CyanogenMod 4.1.99 on your G1 phone – the first “legal” version of CyanogenMod (after Google sent cyanogen a cease and desist).
The steps outlined in this tutorial were gathered from the official announcement of 4.1.99 on the xda-developers forum. For more information on 4.1.99, see this thread.
Warning: though unlikely, it probably technically possible that following the steps outlined in this tutorial may result in your phone no longer working. Not following these steps in the right order, would increase those chances. With all of that said, it’s very unlikely that anything bad will happen.
See the link at the end of this tutorial, once you’ve completed it, to upgrade to CyanogenMod 4.1.999.
- Start out by making sure that you have Cyanogen Recovery 1.4 installed on your G1. If you do not, follow steps 6-20 in this tutorial (Update: link no longer works).
- Download the file signed-dream_devphone_userdebug-ota-14721.zip (the Recovery image, not the Radio or System image) from the Android Developer Center (Update: link no longer works). Then download the file update-cm-4.1.99-signed.zip (Update: link no longer works). Copy both files to your Android’s SD card. Note: I copied them to my phone in OS X (as illustrated below) – you can use Windows or an Android FTP client – it doesn’t matter. As long as they’re copied to the root of your SD card, you’ll be fine.
- Now power off your phone. Hold down the Home button when powering it back on, so that you enter recovery mode. Select nandroid v2.2 backup and click your trackball.
- This will perform a backup, just in case it’s needed.
- Once the backup has completed, select apple any zip from sd and click the trackball.
- Select signed-dream_devphone_us… and again, click the trackball.
- You’ll be notified that you’re going to install a new image. Click the Home button on your device to confirm this action.
- The new image will now install.
- Once the installation process has completed, you’ll be taken back to the recovery screen. DO NOT reboot your device at this point. Instead, once again select apply any zip from sd.
- This time, select update-cm-4.1.99-signed and click the trackball.
- As with the previous image installation, click the Home button on your phone to confirm.
- This will install CyanogenMod 4.1.99 on your phone.
- Once that installation has finished, you’ll be presented with the recovery mode screen, again. This time, select go to console.
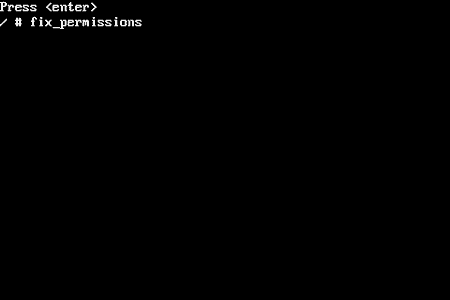
- Click the enter key on your keyboard
- You should now be presented with a command prompt. At the prompt, enter fix_permissions and click the enter key on your keyboard.
- A bunch of text will fly by. You might notice that some of the text says No such file or directory. This is normal, depending on how your phone was previously set up.
- Once you’re back at a prompt (the text has stopped scrolling) – type the word reboot and click the enter key on your keyboard. Your phone will now restart.
- Your providers ‘boot’ screen (in my case T-Mobile) might be displayed for slightly longer than normal. Don’t worry. Eventually the CyanogenMod Android logo will appear – and it too may be displayed for longer than normal. Again, don’t worry.
- Once your phone finishes starting up, select Settings from your Applications, and then About phone from the Settings list. In the Mod version section it should say CyanogenMod-4.1.99. That confirms that you’ve successfully installed CyanogenMod 4.1.99. Congratulations! You now have a completely legal modded G1.
- Launch some of the apps on your device. Confirm that the proprietary programs like Gmail, YouTube, Google Maps etc all work. If you experience any issues, try asking for help on this thread at the xda-developers forum. Be sure to include as much and as specific information as possible in order to receive a timely reply.
- Once you’ve finished upgrading to 4.1.99, you can upgrade to version 4.1.999 by following this tutorial. The process is much faster (fewer steps) – but again, you must have completed the steps in this tutorial first.