This tutorial will take you every single step of the way through installing Ubuntu on your Asus Eee PC. The steps are specific for the Eee PC 900 (16GB flash SSD model), but will be similar for other Eee PC’s.
Please note: This guide was published back in 2008 and is now considered out of date, kind of. The version of Ubuntu used is very old – 8.04 (Hardy Heron) – but the whole process hasn’t changed that much. You should actually be able to follow along using a newer version of Ubuntu. I don’t have my Eee PC any longer, so I can’t update this guide with the exact new steps and screenshots, but this is probably pretty close.
- First, download Ubuntu.
- Transfer the iso file to a USB memory stick/thumb drive
- Restart your device. As soon as your Eee PC starts up again, hit the Esc (escape) key a few times until a Please select boot device: window appears. Use the down arrow key to select your USB thumb drive, and once it’s highlighted, hit the Enter key on your keyboard.
- Your Eee PC will now boot into Ubuntu. Remember, this is the “live” version of Ubuntu – it’s running from your USB thumb drive, not your Eee PC’s hard drive. Play around for a bit if this is your first time using Ubuntu. You can still back out of the installation and return to whatever Operating System your Eee PC came with (just reboot again).
- To continue and install Ubuntu to your Eee PC, click the Install icon on the desktop.
- Select your language and click the Forward button to continue.
- Now select your city (or the closest one to it in the same time zone) and click Forward.
- Choose the keyboard layout you want to use, and yep you guessed it – click Forward.
- If you are in fact using the Eee PC 900 (or higher), select Guided – use entire disk. Alternately, if you have a model with multiple “drives” (xGB SSD and xGB Flash), you may want to install Ubuntu on the SSD drive, and then mount the /home folder on the Flash drive). When you’re ready, click Forward.
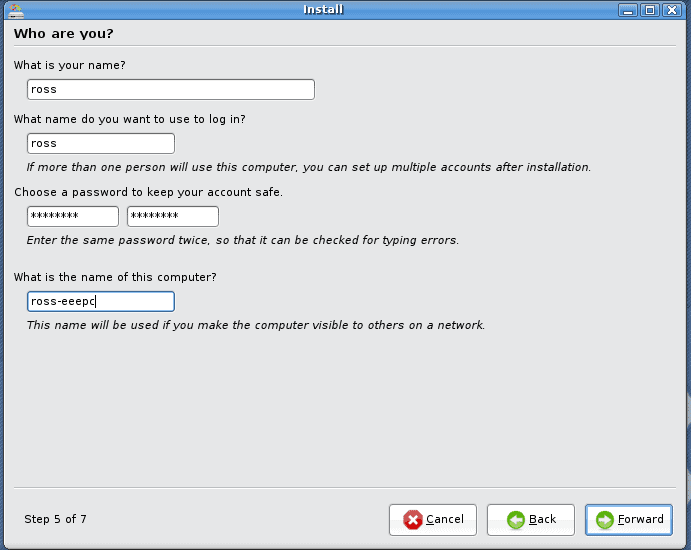
- Enter the appropriate info in each of the provided fields. When you’re done, click Forward.
- Review the summary window, and click Install to begin the installation.
- Grab a cup of coffee – the installation will take a while. Don’t go too far away though…
- Once the installation has completed, click Restart now. Let your Eee PC boot normally (don’t hit the Esc key as it starts) – and you’ll boot into Ubuntu. That’s it – you’re done!