This short but detailed guide will explain how to install the amazing media player VLC on your computer running Ubuntu.
Background
VLC is widely consider the best-in-class multimedia player across all popular operating systems – including Linux. Here’s how you can install it in Ubuntu –
Install VLC in Ubuntu
There are a few ways to accomplish this, but we’ll go with the “snap” method, as it’s the best way to ensure VLC stays up to date when new versions are released. Here goes –
- Click the Show Applications button in the bottom left corner of the screen.
- In the Type to search box enter the word terminal and then click the Terminal app when it’s displayed.
- Enter the command:
sudo snap install vlc
- Ubuntu will prompt you to enter your password and after you do it will download and install VLC. Once that has successfully completed, exit out of the Terminal
- Click the Show Applications button again and scroll down to the bottom – there’s VLC! Launch it by clicking on it once.
- The first time it runs you’ll need to grant it permission to use the Internet to find info about the files you’re playing (cover art etc) – click the Continue button.
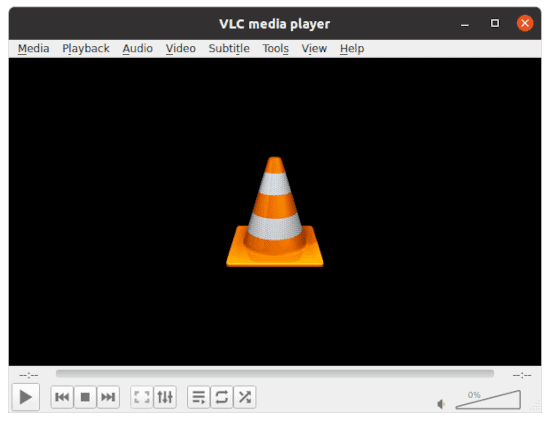
- There’s the VLC we all know and love :)


Set VLC as the Default Media Player in Ubuntu
- To set VLC as your default media player, click one of the buttons at the end of your menu bar (see screenshot below) and then select Settings from the list of options.
- Scroll down the list of settings in the column on the left side of the window and select Default Applications. Now in the main part of that same window select the pull-down menu next to Video and choose VLC media player. If you want VLC to handle your audio files too, make sure to select VLC media player from the Music pull-down menu.
- Now when you double-click a video file it will open up in VLC instead of the default “Videos” App.
- That’s it!


While you’re here, did you know you can use an iPhone to control VLC? It’s true :)
