Yes, I previously wrote a tutorial covering how to install Ubuntu 8.04 on your Eee PC. Since then, a new version of “Ubuntu Eee” has been released, 8.04.1. One my favorite new features is that Netbook Remix is now installed by default. So rather than have to install Ubuntu Eee and then Netbook Remix, you can just install this updated version and it’s all done at the same time.
Please note: This guide was published back in 2008 and is now considered out of date. As such, we have asked Google to remove this article from search results, though it will remain online for archival purposes.
- Rather than write it all out again, I’m going to take the lazy route. Follow the first 11 steps of this tutorial, and then come back to this one. Just make sure to download 8.04.1 instead of 8.04.
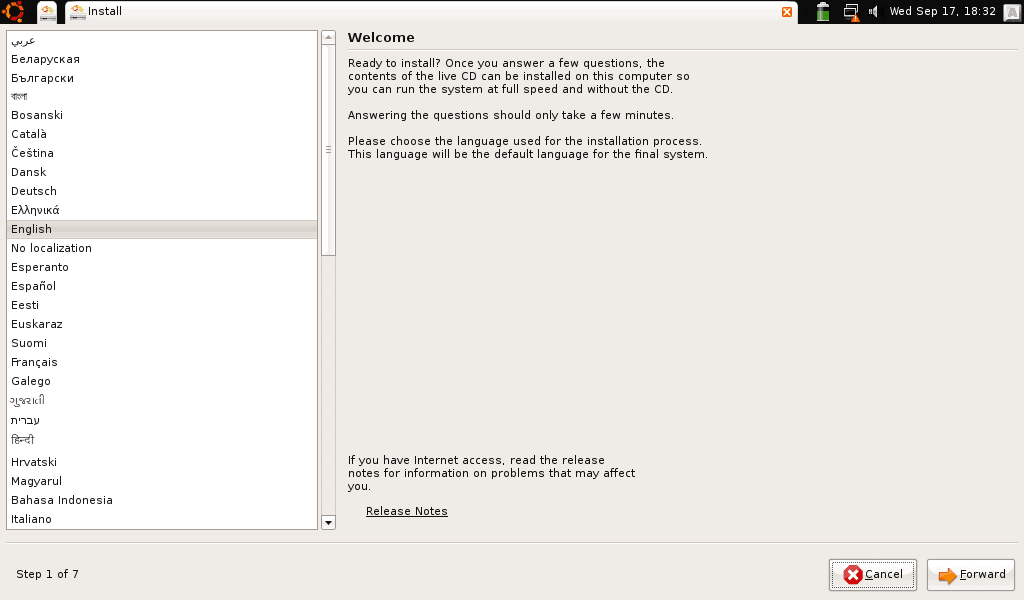
- When your Eee PC starts and Ubuntu loads, the Installer will automatically launch. Select your language and then click the Forward button.
- Now select the city/region that represents your time zone, and again click Forward.
- Pick the keyboard layout that you want to use, and click Forward.
- At this step you’ll have to decide how you want to have Ubuntu Eee installed. If you already have an operating system (like Windows, or another Linux) installed, you might want to keep it. As illustrated in the screenshot below, I already have Fedora installed on my Eee PC. If you want to keep the existing operating system and dual boot, so both it and Ubuntu Eee are available, use the slider to determine how much disk space you want to allocate to each OS. Then click Forward (and ignore the next step).
- If you want to wipe whatever operating system you currently have installed completely off your Eee PC, select Guided – use entire disk. If your Eee PC has more than one disk, you’ll need to select the one you want to install Ubuntu Eee on. Choose the first. You can use the second to store files etc. Important Note: this will wipe your first drive (or only, if you just have one) completely clean. If you have files on your drive that you don’t want to lose, or haven’t backed up, exit out of the installation now. Boot back into your existing operating system (remember to unplug the USB thumb drive or external CD/DVD drive that has Ubuntu Eee on it) and back up those files. Then start over. Otherwise, click Forward to continue.
- Enter all of the required information in each of the fields provided, then click Forward.
- You’ll be presented with a summary screen of all the selections you’ve made so far. Assuming everything is the way you want it, click Install.
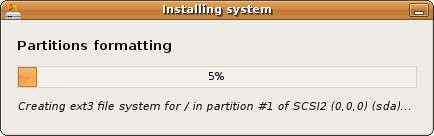
- The first part of the actual installation will be to create and/or format a partition. It’s not exactly entertaining to watch, so you may want to grab yourself a beverage.
- After the formatting has completed, Ubuntu Eee will install.
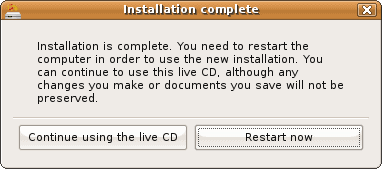
- Once everything has completed, you’ll be prompted to reboot your Eee PC. Remember to unplug the USB thumb drive or external CD/DVD drive before your Eee PC starts again.
- After your Eee PC starts up, you’ll be set to start using Ubuntu Eee, with the Netbook Remix interface. Have fun!